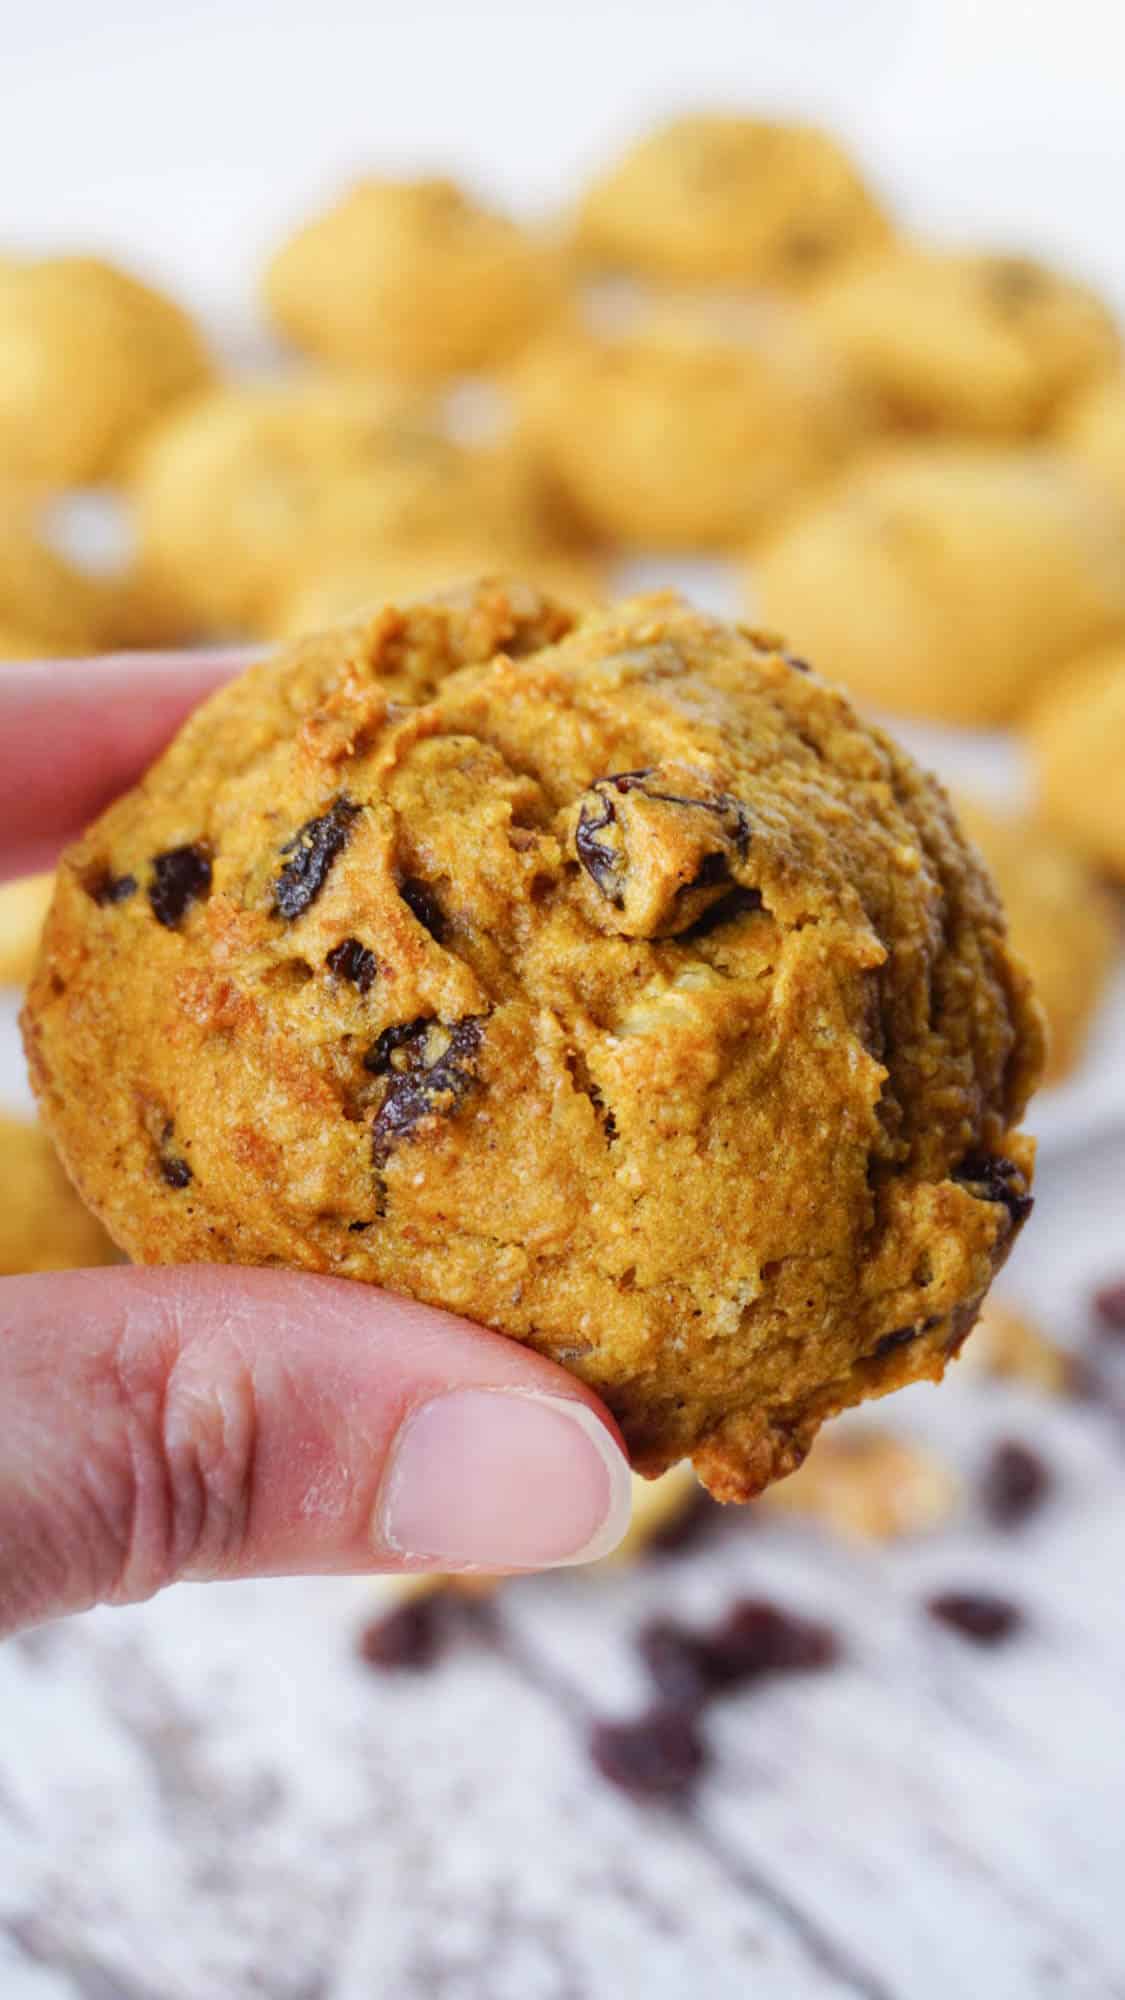
A soft and chewy cookie that’s oozing with pumpkin flavor fresh out of the oven! Full of pumpkin flavor with crunch from the walnuts and raisins, this cookie is not only delicious, it’s also nutritious – and you probably have these ingredients in your kitchen pantry right now! It’s a Recipe ReDux recipe!
During our kitchen remodel, I learned one thing: The way our kitchens are organized can either make or break our eating habits. As I went through each and every cabinet and drawer during the clean out phase, I learned if I didn’t love it, use it or need it, it didn’t belong back in my kitchen. After three months of kitchen disorganization; i.e. cooking outside or eating cold sandwiches, doing dishes in the bathroom and eating off of paper plates and what silverware we could find in the boxes; I realized it’s how you organize your kitchen/cooking area that makes a HUGE impact on our eating habits.
When the time came to re-set the kitchen and fill it with my tools, I was uber deliberate. Function and efficiency were my motivators. And I organized everything — putting our eating utensils and dishes right by the dishwasher so it was easy to put them away. We organized a specific snack drawer for healthier snacks. And I put my two most used appliances – a blender and slow cooker – in a cabinet I can reach without having to worry I would drop it on my head! I wanted nothing on the counter top besides three things: a recipe box, a stand mixer and a pretty sign against the wall. I really believe kitchen organization can make or break your cooking and eating habits.
So, 18 months later, I’m reaping the benefits of a more organized kitchen, not because it’s remodeled, but because I took the time to organize. I am using things I never use to use because I have them in a place that’s easily accessible. And because of that, we have more variety and health in our meals too. Healthy and happy kitchens make for healthier, happier families. Here are my tips to a more organized kitchen related to the theme for this month’s Recipe ReDux challenge: cook with three ingredients that are actually in the frig or pantry right now – try not to go to the store to buy anything new. It got me thinking of when I organized everything in my kitchen and I wanted to share those tips with you!
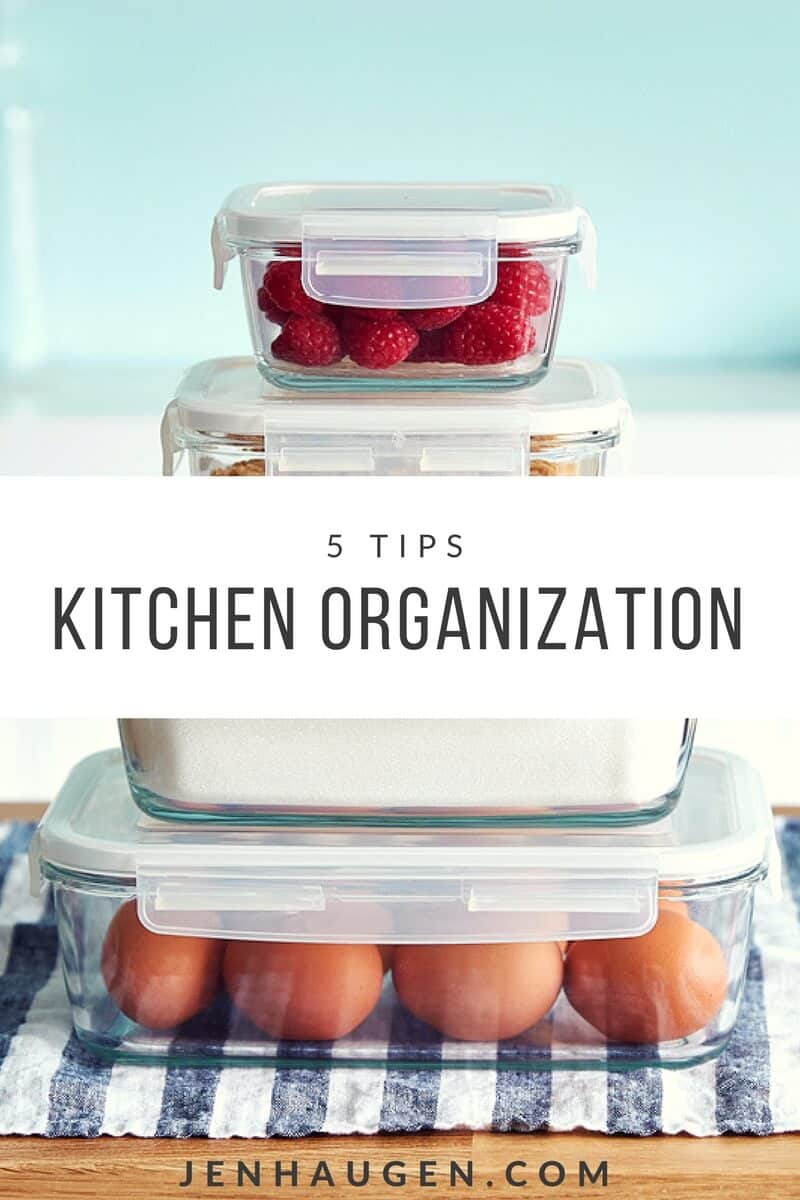
5 Tips to a More Organized Kitchen

Here are five things you can do to clear the clutter, use what you have and make meals your family will love to eat:
Think workstations.
You know that feeling you get after you organize something? It could be a drawer or a cabinet or a closet, but that feeling of accomplishment is amazing. While we can be eager to organize our clothes closet or the coat closet, what about the kitchen? Organizing the kitchen is actually the first step in creating healthier and calmer mealtimes. And the key to that organization is work stations. Yes, it might take an afternoon of going through drawers and cabinets and deciding what you really use, but you will feel GREAT once it’s done.
Here are some work center ideas to create in your kitchen:
- Food Storage and Prep Centers
- Cooking/Serving
- Cleaning
- Baking
Eliminate counter clutter.
When the counters are full, there’s no room to cook! When there’s no room to cook, we tend to eat out. Here’s what you can do:
- Counter space is premium space. It’s like sitting behind home plate, the most expensive seats, and you don’t just get those seats for free, you have to earn them. The same with counter space – the space on the counter must be earned by either frequent use or that it actually helps you get meals on the table in an efficient way. If you don’t use what’s on the counter frequently, either move it or lose it.
- Create one area to keep papers rather than all over the counter. It could be a wall, a drawer, a shelf, a desk, where papers are categorized and organized for the week to come.
- Every night go to bed with a clean kitchen. In the morning, you will have more joy!
Perk up the pantry.
- Arrange foods so you can see them.
- Designate areas for like foods.
- Use bins, baskets and drawers.
- Label shelves so family members know where to put foods and tools.
Reorganize the refrigerator and freezer.
- Clean out all the way to the back of the refrigerator and the bottom of the freezer.
- Label dates and what items are so food doesn’t get lost.
- In the refrigerator, use door shelves for bottles and jars with labels facing out. Use one drawer for fruits and one drawer for vegetables. Put ready to eat snacks where you can see them (string cheese, grapes, carrot sticks, yogurt).
- In the freezer, store small packages in door racks or freezer bins.
Check the dates.
- “Best if used by”dates tell you how long a food will be fresh and at best quality. After that date, the food is still safe to eat but may lose flavor. Examples include canned vegetables, salad dressing, soups, and cereal.
- “Sell-by” dates are listed as the last day the food should be sold at a grocery store. Most foods will still be fresh and safe to eat for a week after the sell-by date, such as cheese, milk, meat, and yogurt.
- “Expiration” dates are noted for the last day a food should be eaten and may not be safe to eat after the date. Baby formula is the only food with an expiration date.

While I was cleaning out my pantry, I found three things I wanted to use and didn’t want to waste. A can of pumpkin puree, walnuts and a bag of raisins. What to do? Make Soft & Chewy Pumpkin Cookies, of course!

Soft & Chewy Pumpkin Cookies
- 1-1/4 cup packed brown sugar
- 2-1/4 cup all purpose flour
- 1 teaspoon baking soda
- 1 teaspoon baking powder
- 1/2 teaspoon salt
- 1/2 teaspoon cinnamon
- 1 stick butter (1/2 cup)
- 1 (14.5 oz) can pumpkin puree
- 1 large egg
- 2 tablespoons sour cream
- 1 teaspoon vanilla extract
- 1 cup chopped walnuts
- 1 cup raisins
-
Preheat oven to 350 degrees.
-
In large mixing bowl, whisk together brown sugar, flour, baking soda, baking powder, salt, and cinnamon. Cut butter into flour mixture with pastry blender, one tablespoon at a time.
-
In a separate bowl, combine pumpkin, egg, sour cream, and vanilla. Add pumpkin mixture to flour mixture and stir until combined.
-
Fold in walnuts and raisins.
-
Scoop by three tablespoonful scoop size about an inch apart on ungreased baking sheet. Bake 15 to 20 minutes or until toothpick placed in center of cookie comes out clean.


/assets/images/provider/photos/2672875.jpg)

More Stories
Hairpiece Design That Defies Detection
CBD in the UK: Everything You Need to Know Before You Buy
Superficial Radiotherapy Explained: What Patients Need to Know